After the refractive index is specified, you must specify the initial optical excitation. The BPM works on the premise that the light is known at some initial transverse (XY) plane, and the BP method is used to calculate the light after propagation to the next XY plane in the space. In OptiBPM, the initial excitation is specified with an input plane, which appears as a vertical line in the planar view.
To insert the input plane, perform the following procedure.
| Step | Action |
| 1 | From the Draw menu, select Input Plane, or click the Input Plane button (see Figure 19).
The cursor changes into a cross-hair when you move it into the project layout window. Figure 19 Input Plane button |
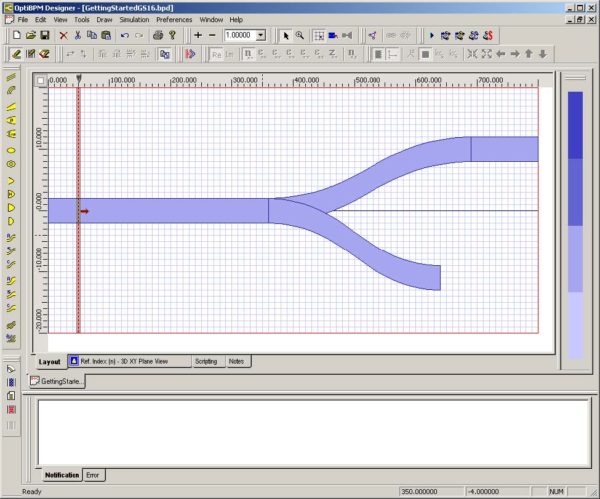
| 2 | To insert the input plane, click as close to the left side of the layout window as possible. The input plane appears (see Figure 20). Propagation proceeds left to right, as shown by the red arrow. |
Figure 20: Input plane
| 3 | To edit the input plane, from the Edit menu, select Properties or double-click on the Input Plane.
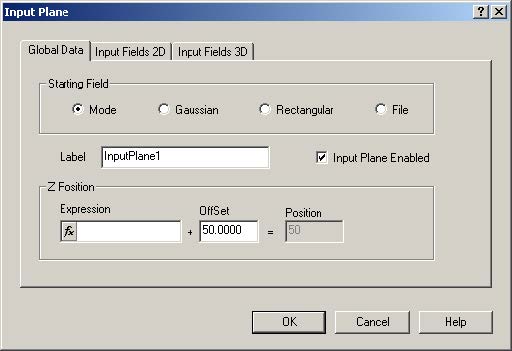
The Input Plane dialog box appears (see Figure 21). |
Figure 21: Input Plane dialog box
In the Input Field dialog box, you can specify if the Starting field is to be Modal, Gaussian, Rectangular, or defined by the user (File).
| 4 | Click the Input Fields 3D tab. |
| 5 | Click Edit.
The Input Field dialog box appears. |
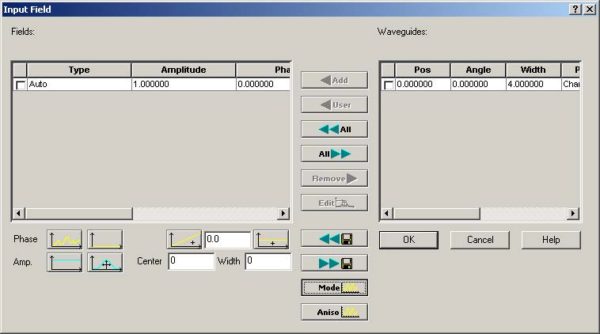
On the Input Fields 3D tab, there are two lists. The one on the right displays the list of waveguides currently found crossing the input plane. In general, there will be more than one. On the left is the list of optical fields placed on those waveguides. Any of the waveguides crossing the input plane could have light in a fundamental mode of arbitrary amplitude and phase.
In this example, we are illustrating the simplest case.
| 6 | Click All. Sends all waveguide crossing the input plane to the Fields list. The Amplitude and Phase have values of 1.0 and 0.0 by default (see Figure 22). |
Figure 22: Item in Waveguides/Fields window
At this point, we can solve for the mode on the selected waveguide.
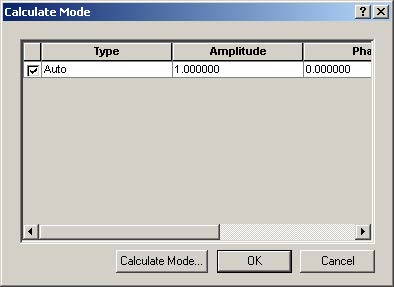
| 7 | Click Mode. The Calculate Mode dialog box appears. |
Figure 23: Calculate Mode dialog box
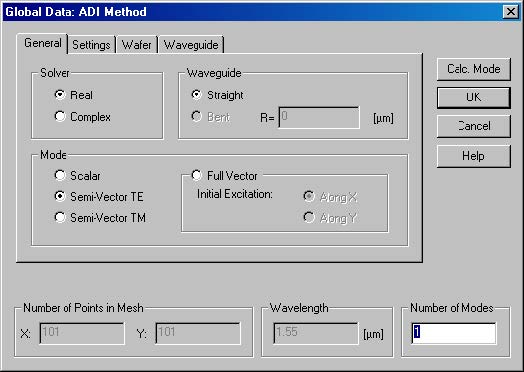
| 8 | Click Calculate Mode. The Global Data: ADI Method dialog box appears. |
Figure 24: Global Data: ADI Method dialog box
| 9 | Type the number of modes you want the modesolver to find in Number of Modes, and click Calc. Mode.
The modesolver is started. |
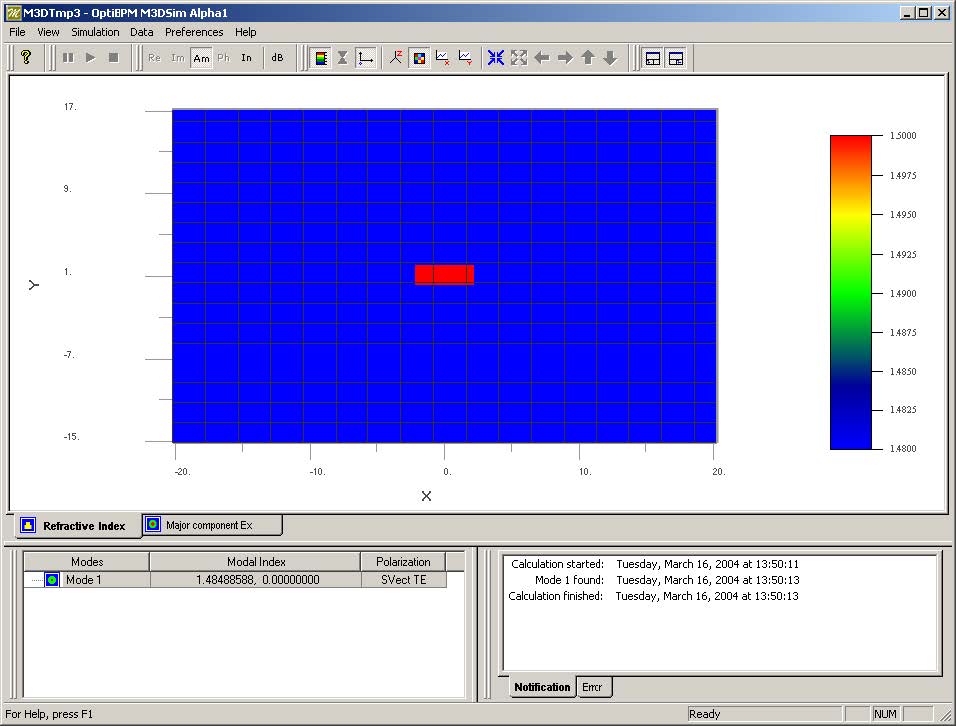
The modesolver first shows the refractive index it detects in the XY plane (the plane where the Input Field marker was placed – see Figure 25).
Figure 25: Modesolver
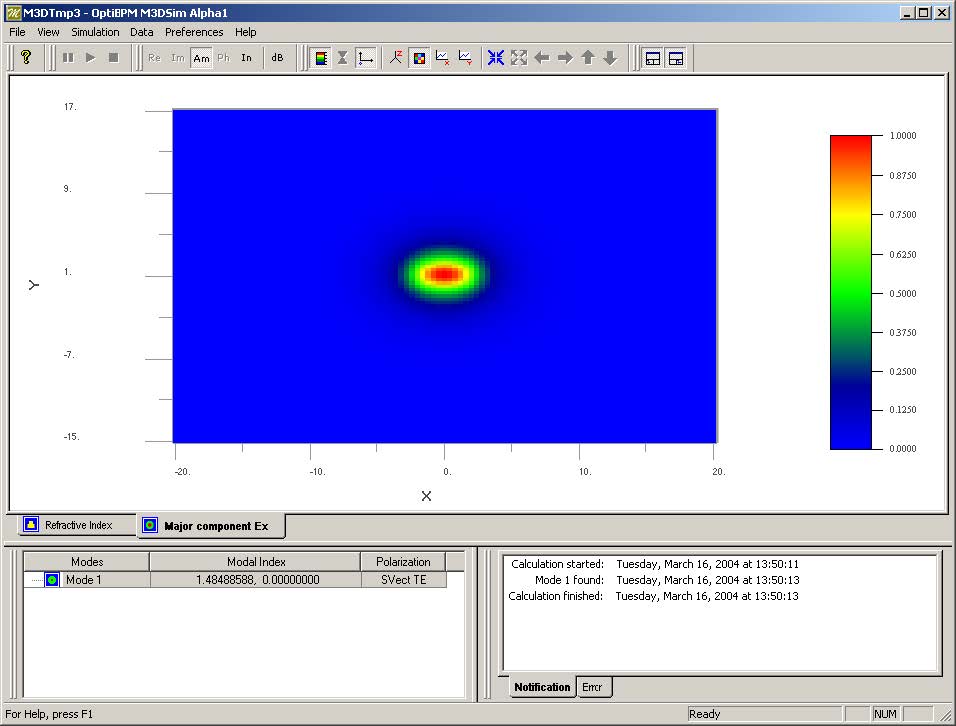
Next, the modesolver finds the mode (or modes), and lists the modal index found in the Modefound window. The modal field pattern of the mode selected in the Modefound window is displayed in the Ex tab of the main window (see Figure 26). If you ask the modesolver to find more than one mode, it will keep finding them and listing them in the Notification window until it finds the number you asked for, or there are no more modes on the waveguide (our example is a single mode waveguide).
Figure 26: Ex tab of Modesolver
| 10 | To apply the settings and return to the Input Field dialog box, click OK. |
| 11 | To return to the Input Plane dialog box, click OK. |
| 12 | To return to the project layout window, click OK.
The position of the input plane changes according to the settings that you selected. |
| 13 | To save the project, from the File menu, select Save. |
You are now ready to run a simulation.


